No Products in the Cart

 German
 French
 Italian

Are you looking for the best dash cam for toyota corolla?
Toyota Corolla's built-in dash camera is a fantastic feature that enhances safety and provides an extra layer of security while driving. In this article we will show you dash cam installation toyota corolla, now let us walk you through the process of hard-wiring the built-in dash camera in your Toyota Corolla, ensuring a seamless and efficient experience.
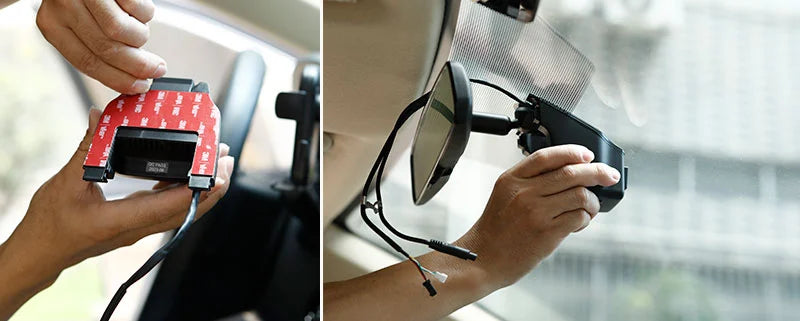
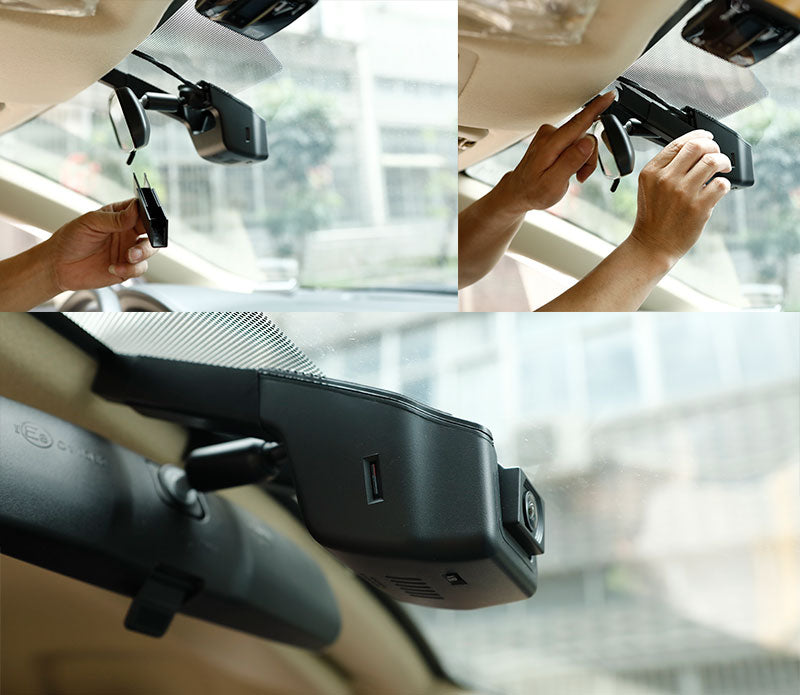
Let us see the trim look like before the dashcam for toyota corolla install,there is no casing behind the rear-view mirror, so with this U shape hidden dashcam can blend in therer so well that you can actually forgot it's there.

First look at the A99 toyota corolla hatchback dash cam after install, it doesn’t have a screen and installation seamless.

Dashcam Install Materials Needed:
Before you start the hard-wiring process, gather the necessary materials:
Hard-wire kit: There is a hard-wire kit in the A99 hidden dashcam compatible with your Toyota Corolla's dash camera.
Trim removal tools: You may need these tools to access the necessary panels and hide the wiring neatly.It also contain in the dashcam's package of mercylion A99.
Multimeter: Useful for checking electrical connections and ensuring proper voltage.
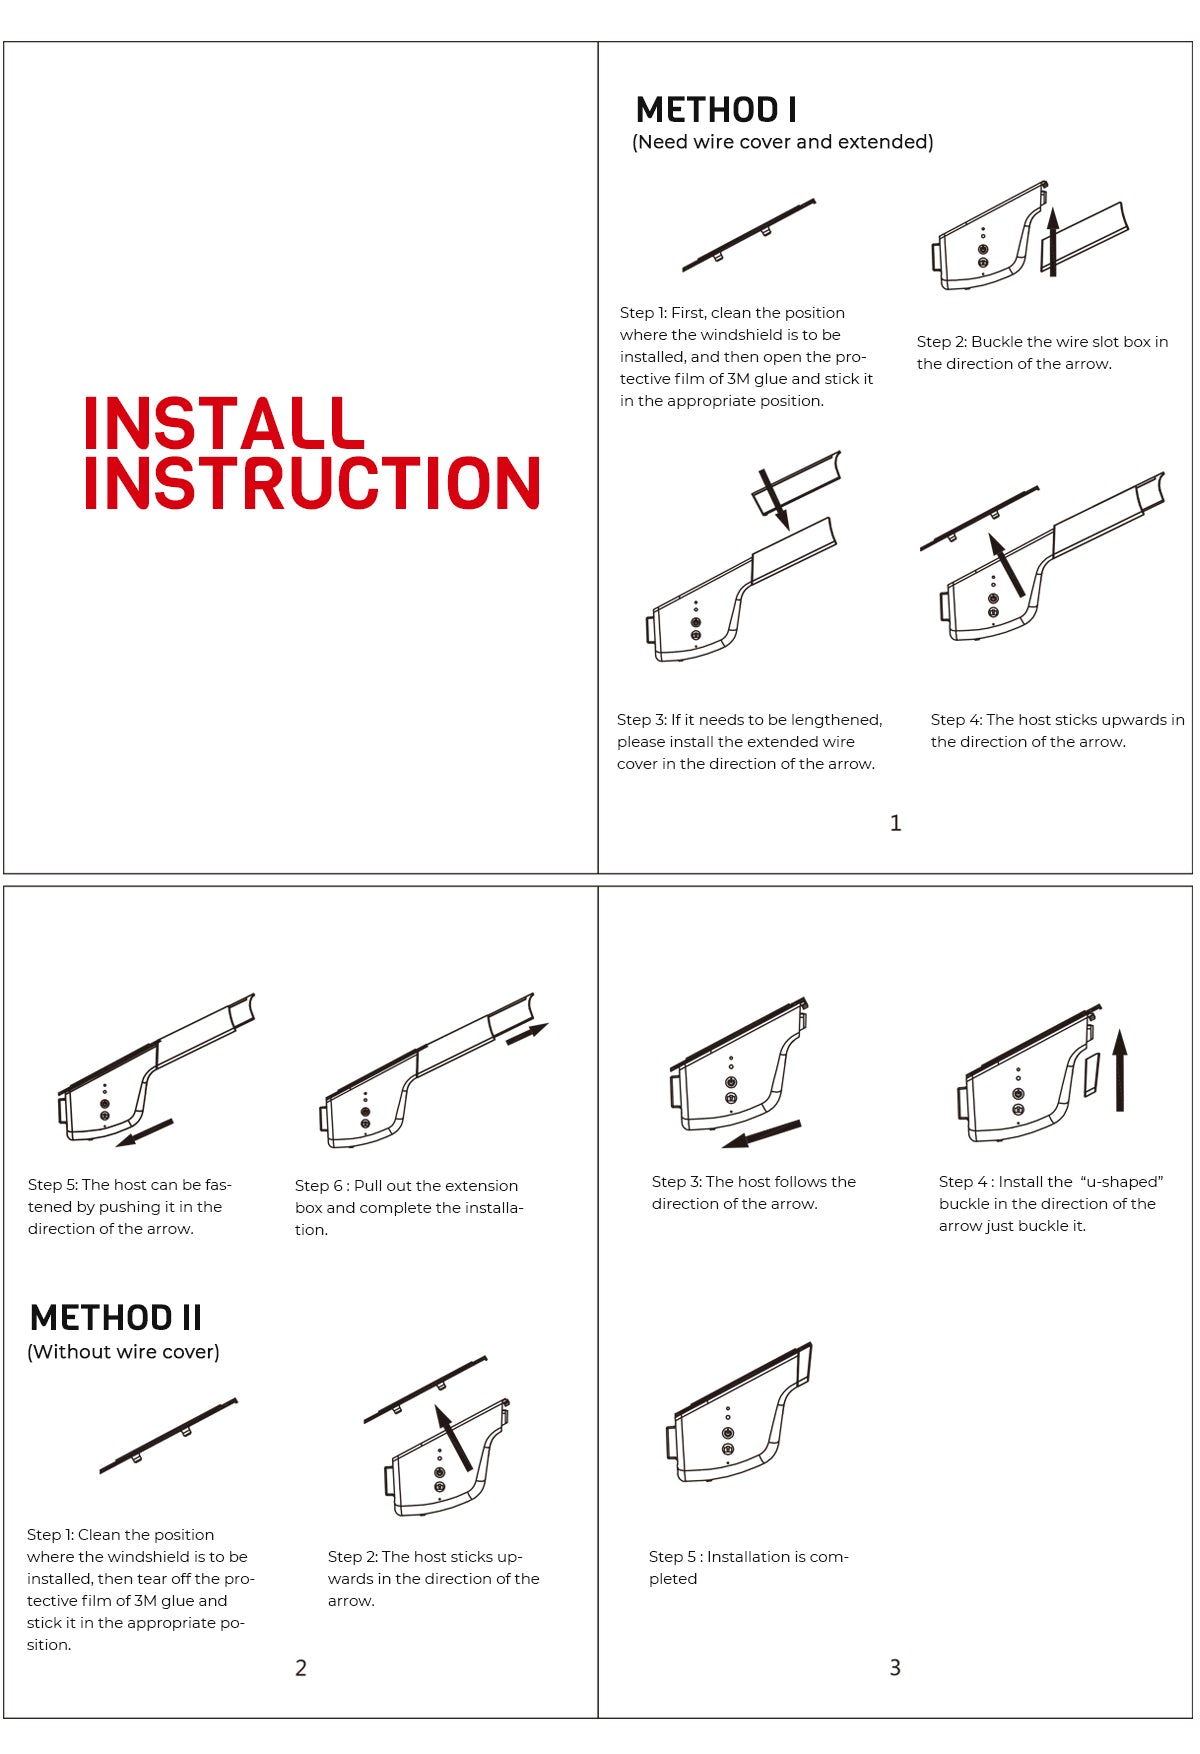
Steps to install the front dash camera on Your Toyota Corolla
The picture below is a simple diagram of the instructions for the A99 main unit to help you understand the structure and installation method of the recorder more clearly.


| Wiring | Definition | Function |
|---|---|---|
|
Yellow wire |
12V Constant Power | Connect to the positive electrode of the car battery (BATT+) |
| Red | ACC 12V | Connected to vehicle ACC power supply; When ACC is 12V, the dash cam is powered on |
|
Black wire |
GND | Grounding; connect to the negative pole of the car battery and ground |
Disclaimer
Before we pull any fuses, it’s important to remember that this type of work should only be performed by a qualified individual or qualified business. Working with your vehicle’s electrical system can be dangerous both to you and your vehicle. If all of this is new to you and you don’t feel confident working with your vehicle’s fuse box, we recommend that you consult a professional!
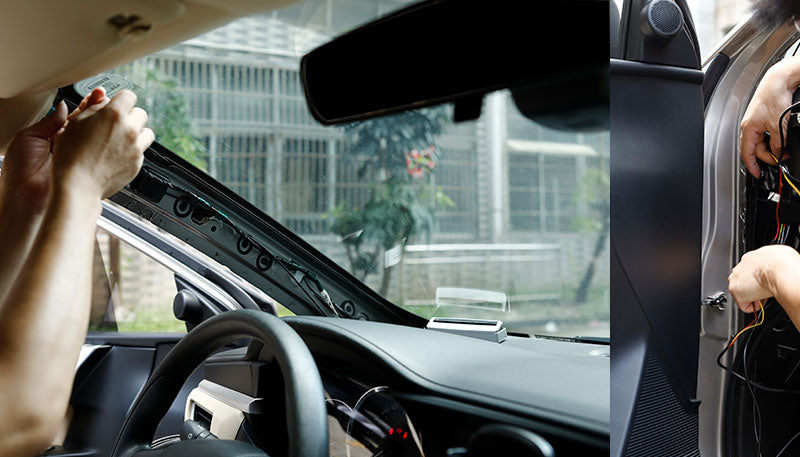
Route the rearcam to the rear windom
Route the rear extension line along the A-pillars, B-pillars, and C-pillars. Connect the extension cable of the rear camera and the plug of the rear camera.
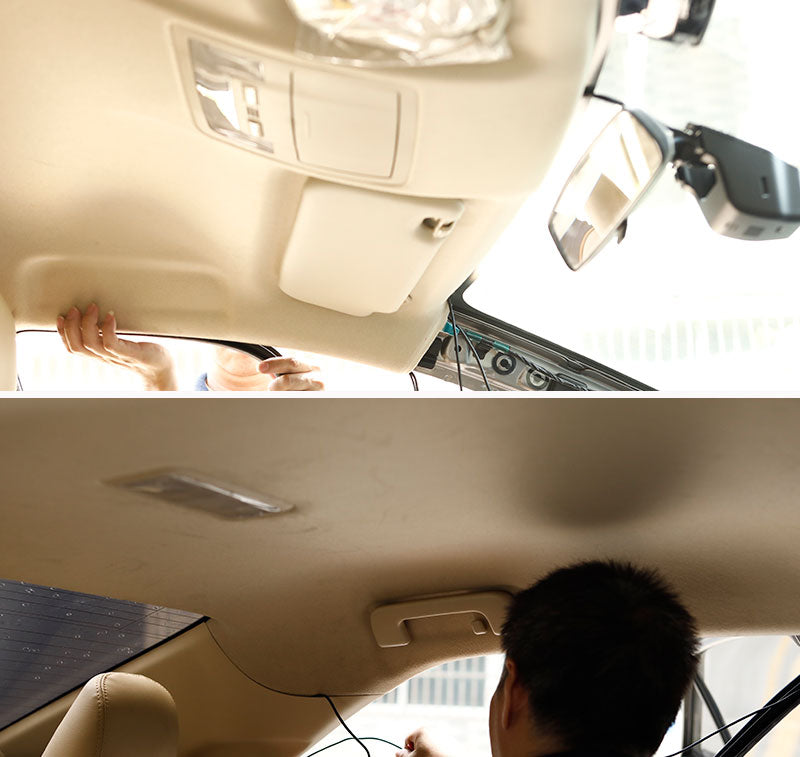
Attach the rear camera in the centre of the rear window

Install the extension wire slot to the front camera
MERCYLION Wifi Connection APP operation
Download the App: scan the QR code to download the Mercylion app for your phone, or search "mercylion" in the app store or Google Player to download
Power On the Dashcam: Start your car, if the dashcam indicator light is bule then the dashcam working normally
Connect to Dashcam's Wi-Fi:
a. On your smartphone, go to your Wi-Fi settings.
b. Look for the Wi-Fi network name (VT5004) that matches your dashcam's model
c. Select and connect to the dashcam's Wi-Fi network.
d. You may be prompted to enter a password(default password, "12345678"). Check your dashcam's manual for the default password, or it may be labeled on the dashcam itself.
Open the Mercylion App: Launch the dedicated app you download.
Configure Settings:
Once connected, you can configure settings, such as video resolution, recording settings, and Wi-Fi password, through the app.
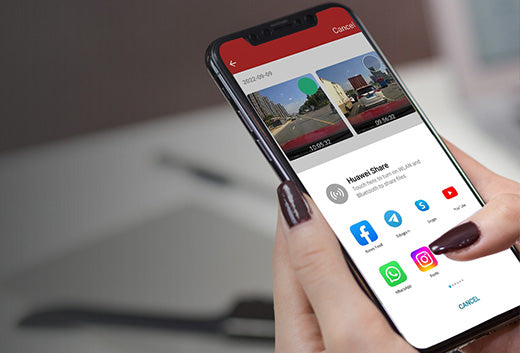
View and Transfer Footage:
You can use the app to view live or recorded footage.
Transfer video clips or images to your smartphone for easy sharing or storage.
Live Streaming
You can use the app to access a live view from the camera while the vehicle is parked.
Security Considerations:
Change the default Wi-Fi password on your dashcam to enhance security. This prevents unauthorized access to your dashcam.


